Getting started - Administrative Panel Overview
The following guide is leading you through the Administrative Panel overview and provides additional options to share responsibilities on the client base management. The last stage of the guide allows creating access roles and adding administrators to the panel system.
Resources to help you get started:
Crassula Support - help@crassula.io
Administrative panel overview
Crassula administrative panel provides various ways to manage a client base including private persons and companies registration, identification, accounts opening, and transactions overview.
Follow the steps below to start the overview:
Navigate to your personal Admin Panel sign-in page
Use your email and password to log in
Enter the confirmation code from the app
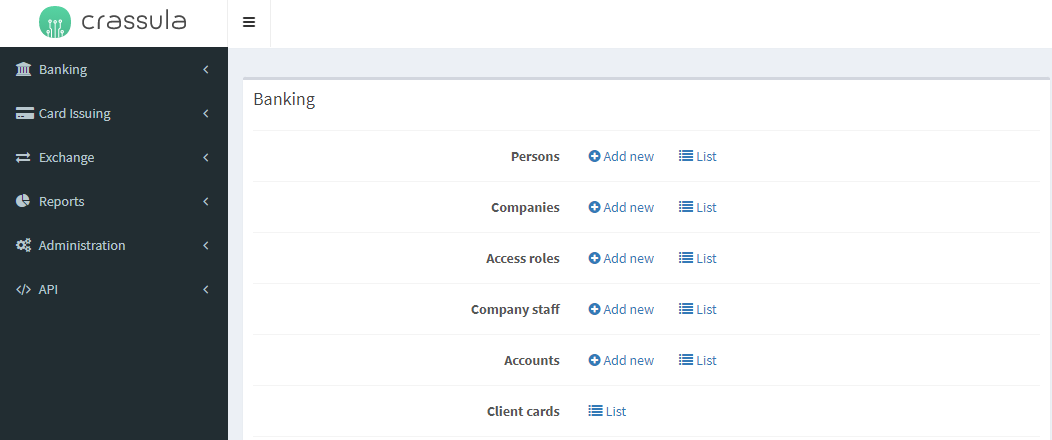
The left sidebar consists of the following tabs for better navigation:
Banking tab refers to core banking system management (see Getting started - Banking Administrative Panel for more information).
Card issuing tab allows to issue, activate and block payment cards; manage card transactions, logs, limits, and holds.
Exchange tab provides the access to currency and cryptocurrency exchange orders, mark-up fees setup, rates update from any source with a company's liquidity or use service provider rates.
Administration tab manages the service administrators and their access to the Admin panel and client base.
API tab provides access for API keys generation and access management.
Administration roles
Administrators are the necessary participants in the digital banking operation process. Grant access to an administrator to assign responsibilities.
Follow the steps below to create an access role for future administrators:
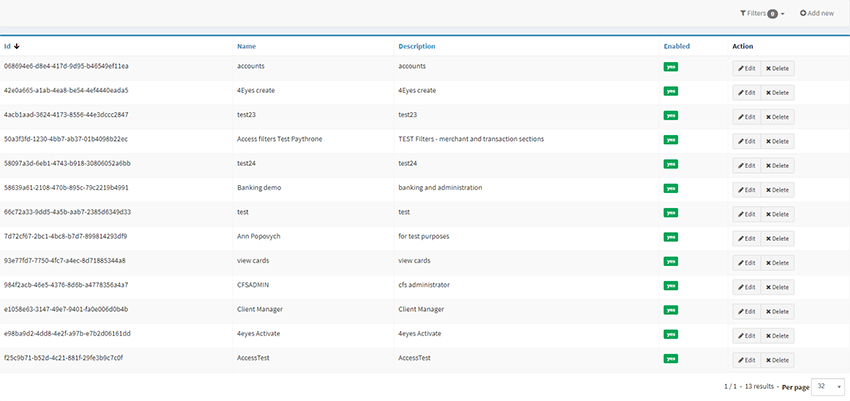
Navigate to the Administration tab on the left-hand bar
Click the Access roles menu item
Click Add new in the top-right corner
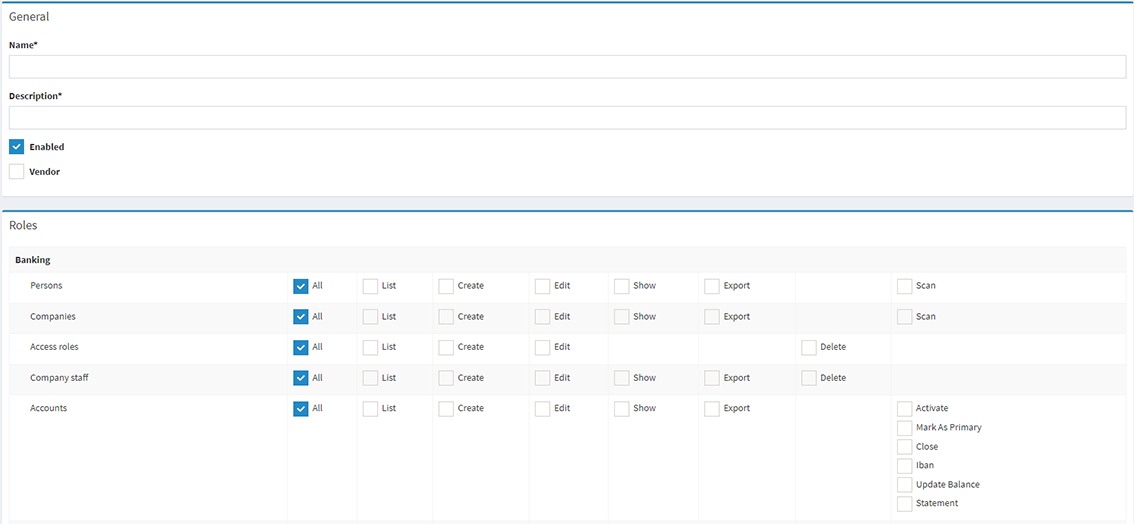
Enter the role name and description
Check the actions in the table below to state the admission
Click Create in the bottom sidebar for confirmation
The number of access roles is not limited, it is possible to create several roles for different purposes.
Administrator assignment
The next step is adding an administrator for the panel:
Navigate to the Administration tab on the left-hand bar
Click the Administrators menu item
Click Add new in the top-right corner
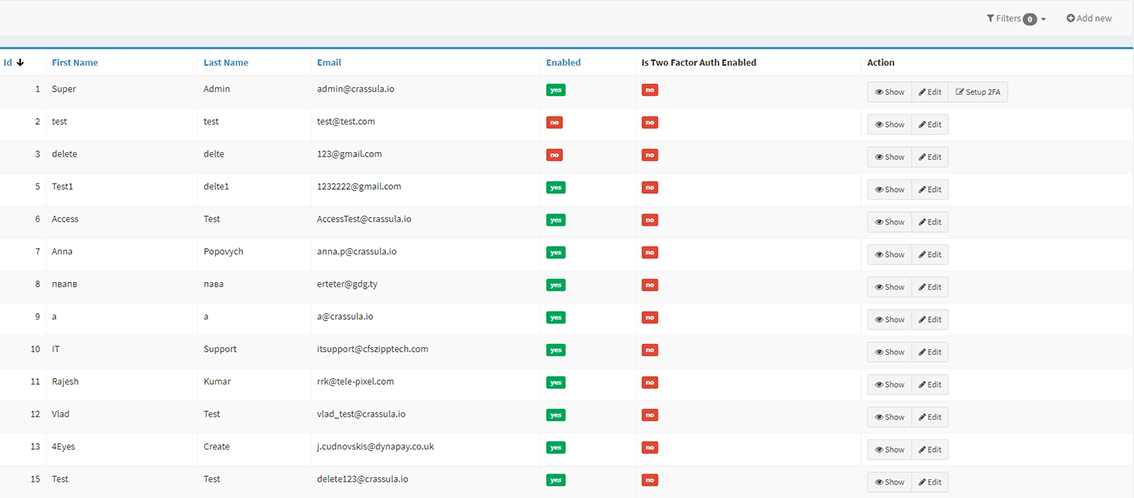
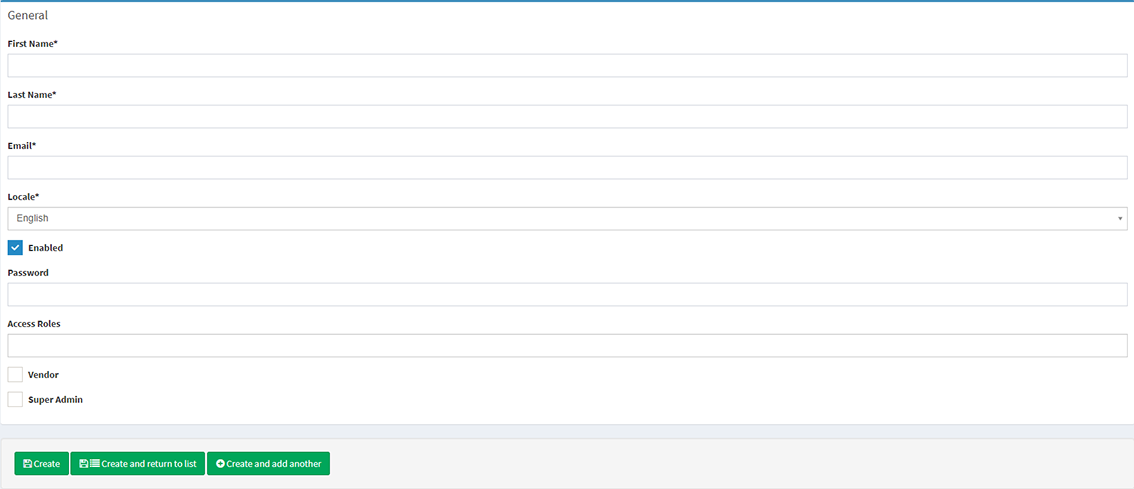
Enter the Administrator’s name, email, and temporary password. An administrator has to update their credentials for the Admin Panel.
Click on the Access Roles field and choose the previously set access role. Multiple choice is available.
Select the Super Admin checkbox to provide complete access to the administrative panel if needed
Click Create in the bottom sidebar for confirmation
The administrator uses the aforementioned email and password to log in to the Administrative Panel.
The two-factor authentication setup is obligatory for Administrators to log in.
.png)