.png)
Creation of a new batch payment
To create a batch payment, follow the steps below:
-
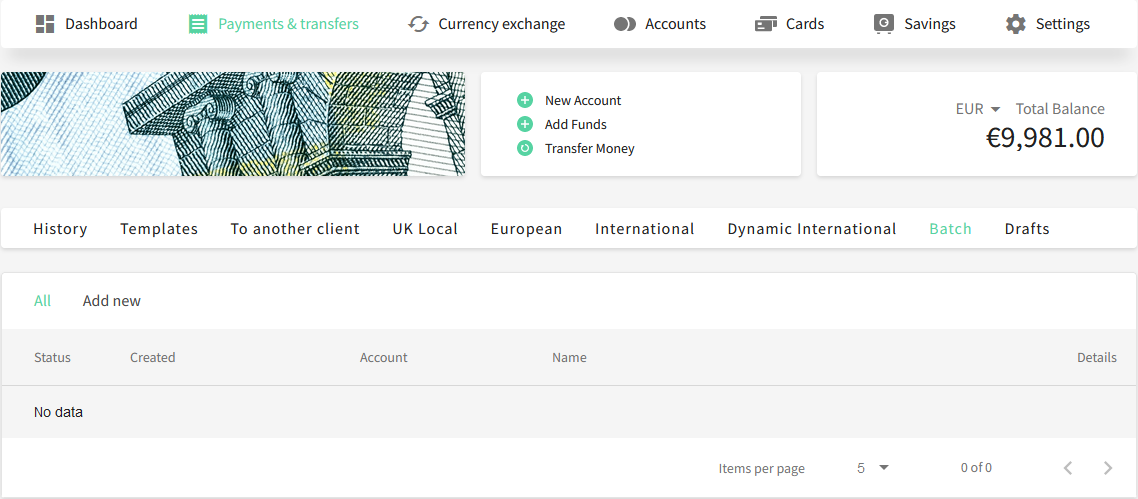
In the Web Interface, navigate to the Payments & transfers > Batch section.
-
Click the Add new tab.
-
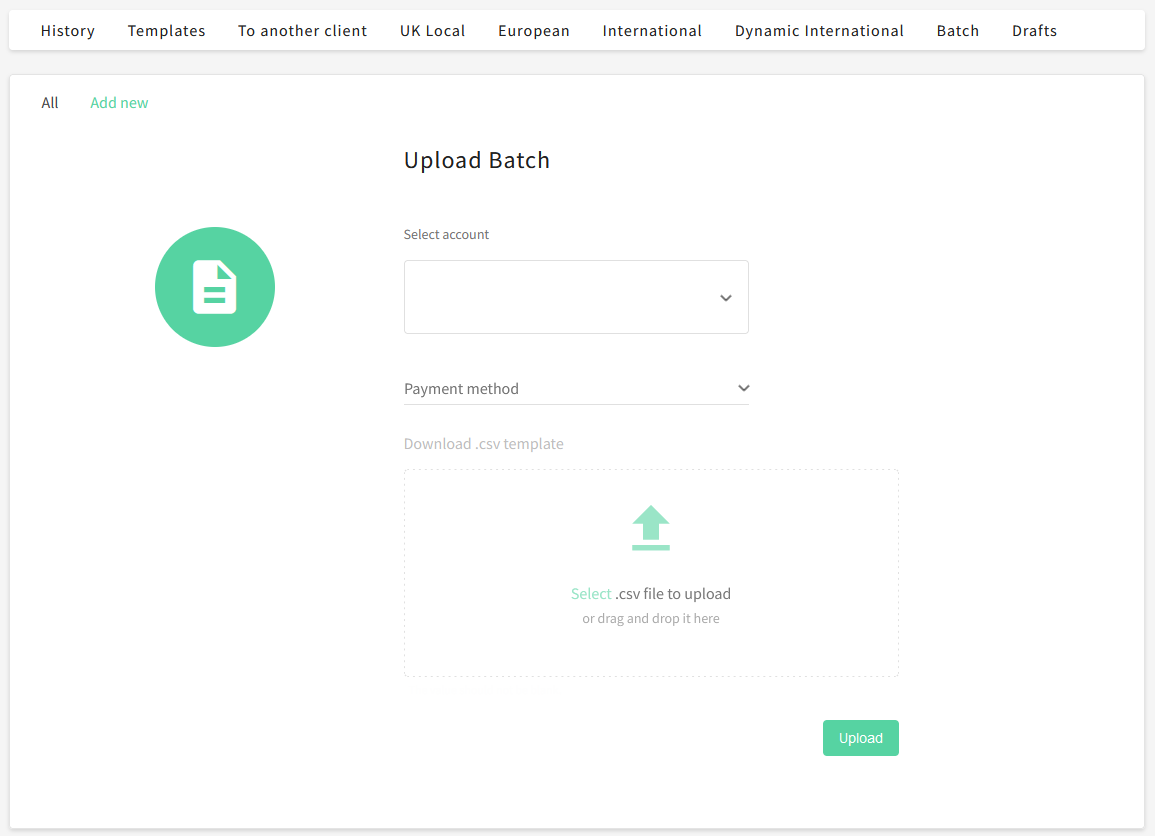
On the Upload Batch screen, select an account from the list of available accounts and a payment method that is supported by the selected account.
-
Click Download .csv template to download the CSV file on your machine. The template contains all the necessary fields that you need to fill in to perform the payment. For more information on the template, see the CSV template details subsection.
-
On your machine, fill in the payment information for every individual transaction in the corresponding fields of the template and save the changes. Rename the CSV file if necessary.
-
Once you’ve filled in all the payment information, navigate back to the Upload Batch screen and either click Select .csv file to upload or simply drag and drop the file in the upload box. The file will appear as a separate item under the upload box.
-
Click the Upload button to complete the uploading of a template. A dialog confirming that files have been uploaded successfully will appear.
As a result, the batch payment will appear in the table on the All tab. All newly created batch payments have the Waiting for approval status.
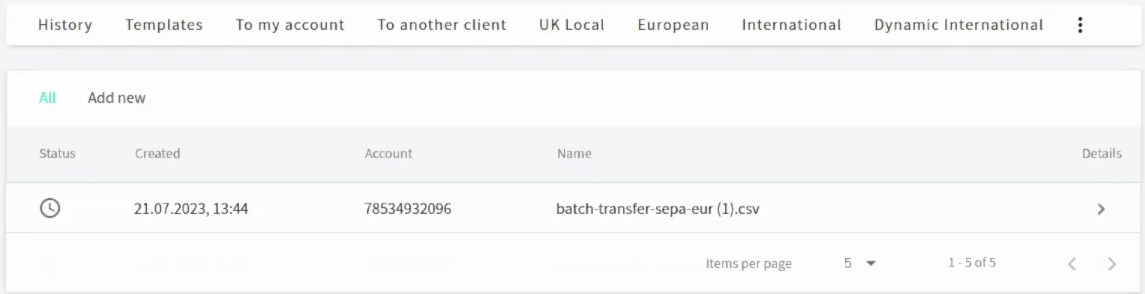
For more information on statuses, see the Checking the status of a batch payment subsection.
Approving a batch payment
To approve a batch payment, follow these steps:
-
In the Web Interface, navigate to the Payments & transfers > Batch section.
-
In the table on the All tab, click the Details button of the batch payment that you want to approve.
-
On the screen that appears with all the separate payments included in the batch payment, perform one of the following actions:
-
To approve a batch payment, click Approve. The batch payment will have the Processing status.
-
To decline a batch payment, click Decline. The batch payment will have the Rejected status.
When the approved batch payment is completed, it will change its status from Processing to Completed. Once it’s completed, you can see all payments included in the batch as separate transactions in the Dashboard.
Please note that a batch will have the Completed status even though some of its transactions were declined while processing. For instance, after approving a batch, if 99 transactions out of 100 are successfully processed, while 1 transaction is declined, the status of the batch payment will be Completed. The same rule applies to situations with insufficient funds in the account: Transactions will be carried out until the funds run out, and the remaining transactions will not be processed, while the batch payment will have the Completed status. For more information on statuses, see the Checking the status of a batch payment subsection.