.png)
Overview
Webhooks offer a reliable and efficient way to receive real-time notifications about client account transactions. The Webhooks section allows administrators to manage webhook-related functionalities efficiently.
Enabling the functionality
By default, the Webhook functionality is disabled in the Admin Panel. To enable it, follow the instructions below:
-
For customers: Ask your client success manager (CSM) to enable the functionality by submitting a relevant Jira issue.
-
For CSM: Provide the relevant environment details so the technical support engineer can enable the functionality.
Opening the Item
To access the Webhooks section:
-
Navigate to the Admin Panel;
-
Click the Webhooks item in the left sidebar.
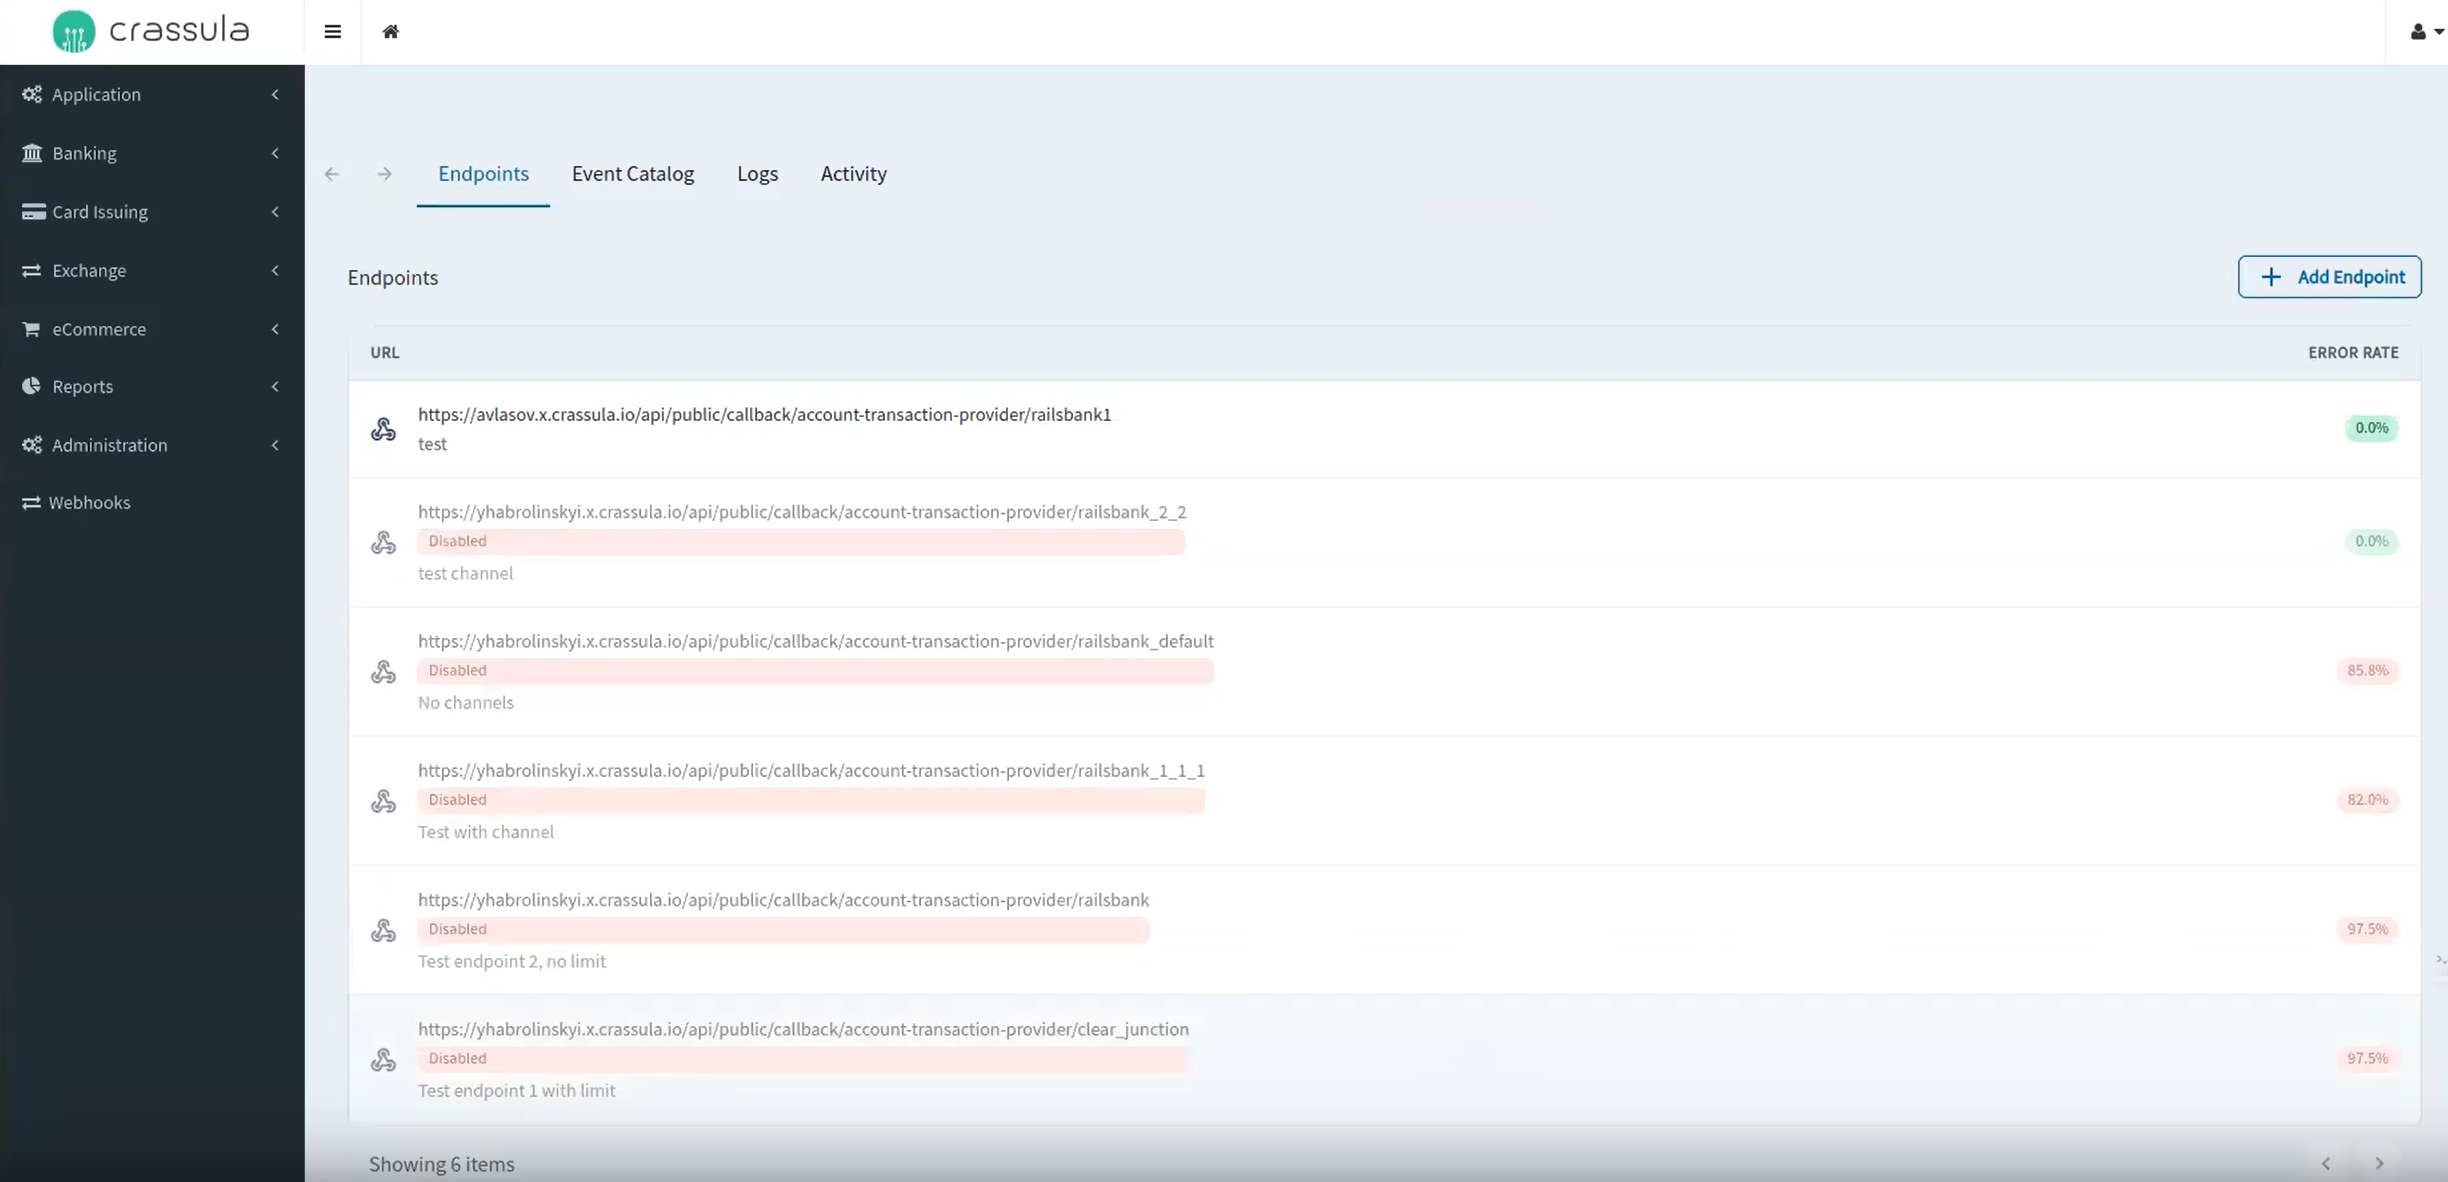
How to configure endpoints
Endpoints determine where webhook messages are sent. To configure an endpoint:
-
Navigate to the Endpoints tab in the Webhooks section;
-
Click Add Endpoint to create a new endpoint;
-
Enter the URL and other required details for the endpoint, such as, for example, channels;
-
Select the event types to be associated with this endpoint;
-
Click Save to confirm the changes.
Using channels
Channels serve as a way to group endpoints (webhooks) that receive a similar set of messages. They are crucial for segmenting webhook notifications based on criteria like customer type, geographic location, or event type. This segmentation ensures that notifications are tailored and relevant to different webhook endpoints.
Customizing channels for individual customers or agents
You can customize channels specifically for individual persons/companies or agents. This customization allows for a more targeted approach in message delivery, ensuring that notifications are relevant to the specific customer or agent.
To set up a channel for a specific person/company or agent, create channels with the following naming conventions:
-
For customers:
client_ID, whereIDis the unique identifier of the customer. For example,client_1bd942c0-4cec-486f-be7a-7b14118ad4ad. -
For agents:
agent_ID, whereIDis the unique identifier of the agent. For example,agent_32fad32d-0412-4f28-9349-a3cdca639c34.
This naming convention ensures that messages related to the payments or actions of a particular customer or agent are directed exclusively to the corresponding endpoint.
Assigning a channel to an endpoint
-
Navigate to the Endpoints tab in the Webhooks section.
-
Click on any existing endpoint.
-
On the right side of the opened screen, locate the Channels field.
-
Click Edit and enter a specific ID of a person/company or an agent.
-
Once the channel appeared in the field, click Save to to directly associate the endpoint with the respective customer or agent.
Please note, when you assign a specific ID of a person, company, or agent to a channel, the endpoint will only receive data related to that particular entity. If you do not specify a channel, the endpoint will receive data from all companies under the white label.
By following these steps, you can effectively segment your webhook notifications, ensuring that each endpoint receives only the most relevant and targeted messages.
How to access the Event Catalog
The Event Catalog provides a list of all event types with descriptions and sample payloads.
To access the Event Catalog:
-
Navigate to the Event Catalog tab within the Webhooks section.
-
Browse through the list of events, which are automatically generated for ease of discovery and subscription.
Monitoring Webhook Activity
Logs
Logs tab offers a detailed record of all webhook activities:
-
Navigate to the Logs tab in the Webhooks section;
-
View the log entries, which include information about successful deliveries, errors, and other relevant data.
Activity
The Activity tab allows real-time monitoring of webhook events:
-
Navigate to the Activity tab in the Webhooks section;
-
Monitor ongoing webhook events with updates and detailed information.
Component Parameters
|
Parameter |
Description |
|
Endpoint URL |
Specifies the destination URL for webhook messages. |
|
Event Types |
Defines which events are sent to the endpoint. |
|
Log Entries |
Contains details about each webhook event processed, including successful deliveries and errors. |
|
Activity Monitor |
Displays real-time updates and information about webhook events, including payload and status details. |
Workflow
The workflow involves configuring endpoints, setting up event types, and monitoring activities through logs and real-time updates. This setup ensures effective management and tracking of all webhook activities within the Administrative Panel.