.png)
Identification requests
Overview
User identification is an indispensable part of any financial platform that is obliged to satisfy all legal requirements. Crassula Banking provides two different ways of user identification:
External provider identification: The user completes the online sign-up form, and then the data is transferred to the external verification provider - Sumsub. The process does not require any assistance and is executed as follows:
The sign-up form is completed
A primary account is opened
A verification link is sent to the user’s email
The email verification is executed via the link provided
The user is navigated to a phone verification link
Once the verification code is entered, the user completes the verification of the contact information
The user is navigated to the document verification page using one of the following methods:
A link for documentation upload
A QR code for online video verification
The user completes the questionnaire (optional)
Documents approval (takes up to several minutes)
The primary account is activated
A Provider is an external service delivering additional functionality via API. As an example, the identification service is held by Sumsub. Sumsub executes document verification and provides access to the advanced identification dashboard. Therefore, Crassula delivers various banking solutions that do not require manual assistance.
If the External ID is changed during the verification process due to service provider issues, a duplicate verification account can be created in SumSub.
Manual identification: the user completes the online sign-up form, and then the data is verified manually by a KYC Administrator in the Administrative Panel. Most of the identification requests are executed automatically by an external provider. Therefore, manual identification is exceptional.
It is possible to perform additional screening for Politically Exposed Persons to avoid reputational risks. See PEP&Sanctions for details.
All identification requests are available for browsing in the Identification requests tab.
Opening the item
Follow the steps below to access the identification request details:
Navigate to the Admin Panel.
Click Banking on the left sidebar.
Go to the Identification requests menu item.
Click Show in the line of a request.
Component parameters
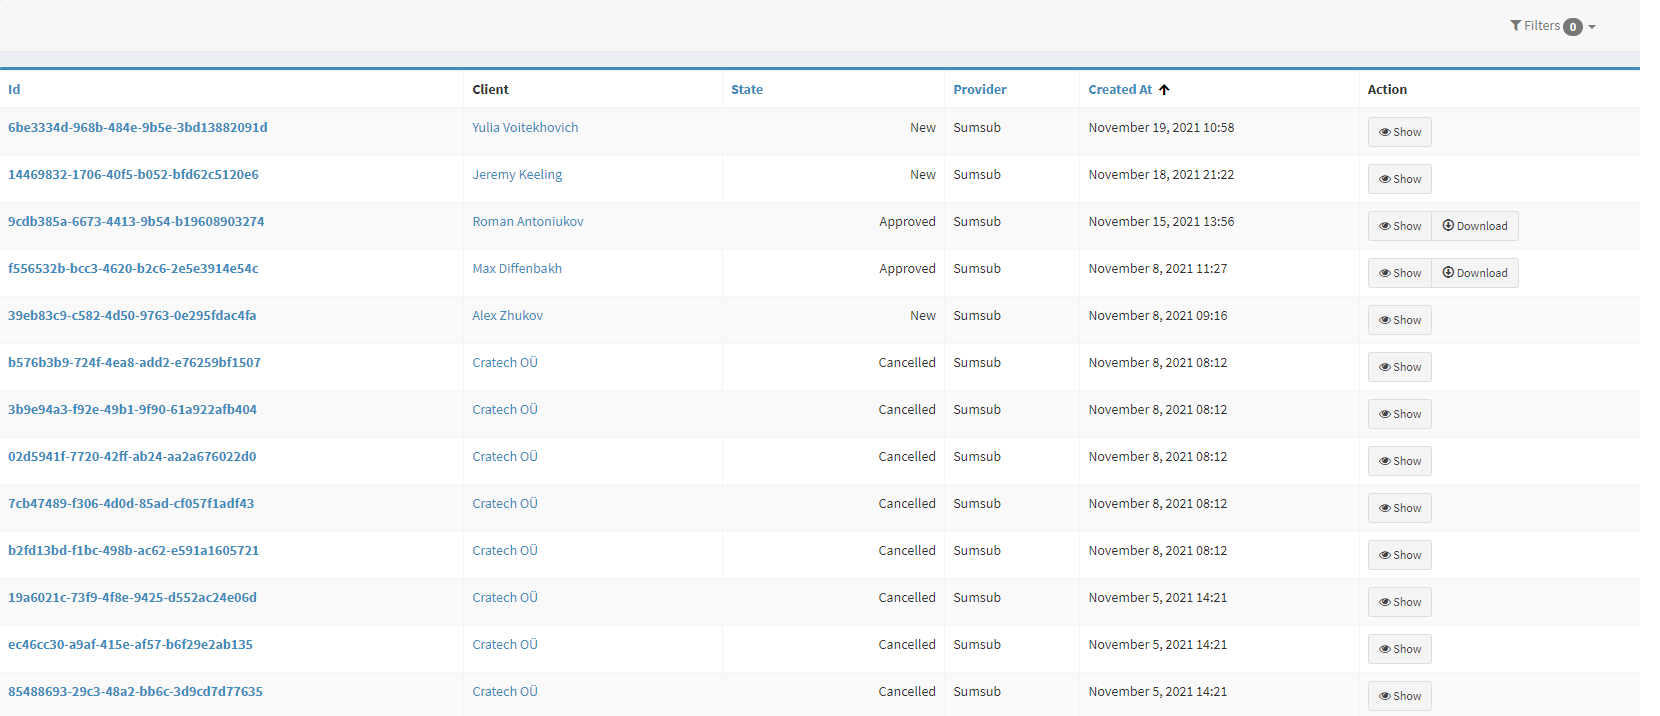
Identification requests
Parameter | Description |
|---|---|
ID | The column demonstrates unique request identification numbers in the Crassula system. |
Client | The column defines the Client the identification request belongs to. |
State | The column shows the identification request state:
|
Provider | The column shows the name of an external service provider responsible for identification (defined if available). |
Created at | Date and time of creation. |
Action |
|
Help | Click to access the current page right from the Admin Panel. |
Configuring the component
Identification Request details is the main panel of request information display and editing.
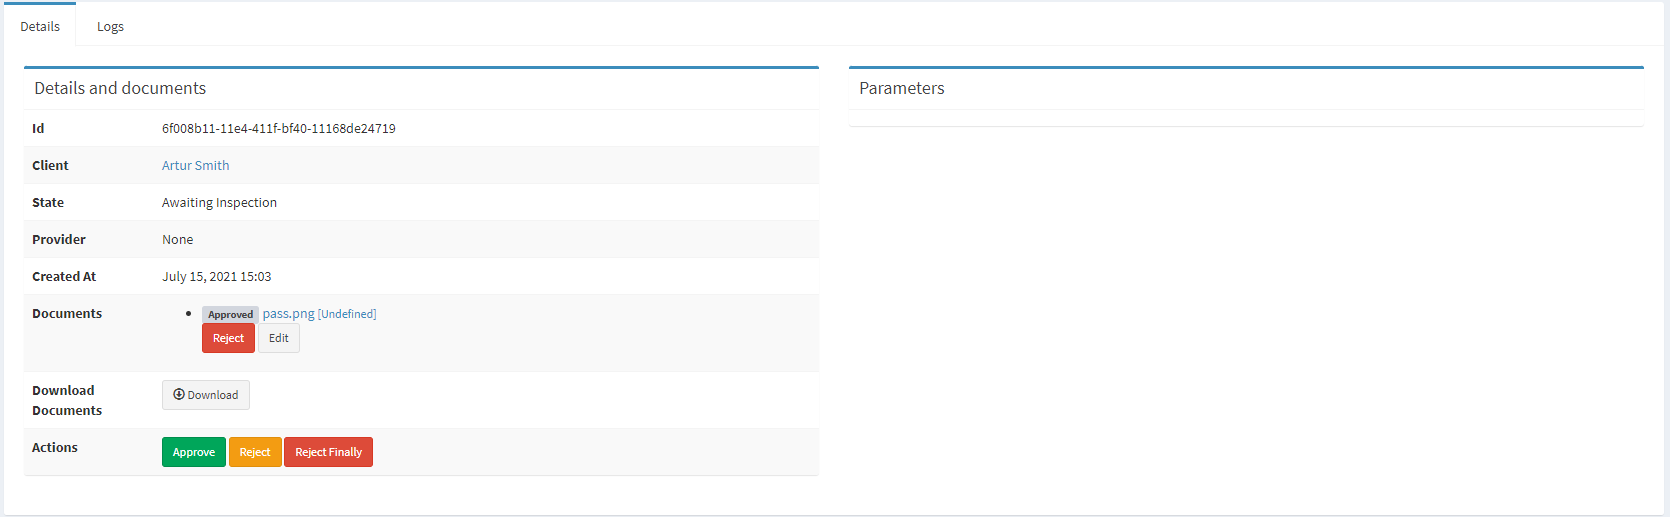
Request details
Parameter | Description |
|---|---|
ID | The parameter demonstrates a unique request identification number in the Crassula system. |
Client | The parameter defines the Client the identification request belongs to. |
State | The parameter shows the identification request state:
|
Provider | The parameter shows the name of an external service provider responsible for identification (defined if available). |
Created at | Date and time of creation. |
Documents | All the documents provided by the Client.
|
Actions |
|
Parameters | The document details defined by the external service provider during inspection, if applicable. |
Logs | Browse the change history of the request. |
Help | Click to access the current page right from the Admin Panel |